
How a World Champion Trains for Powerbreaking – Kevin Jansen’s World Cup Preparation

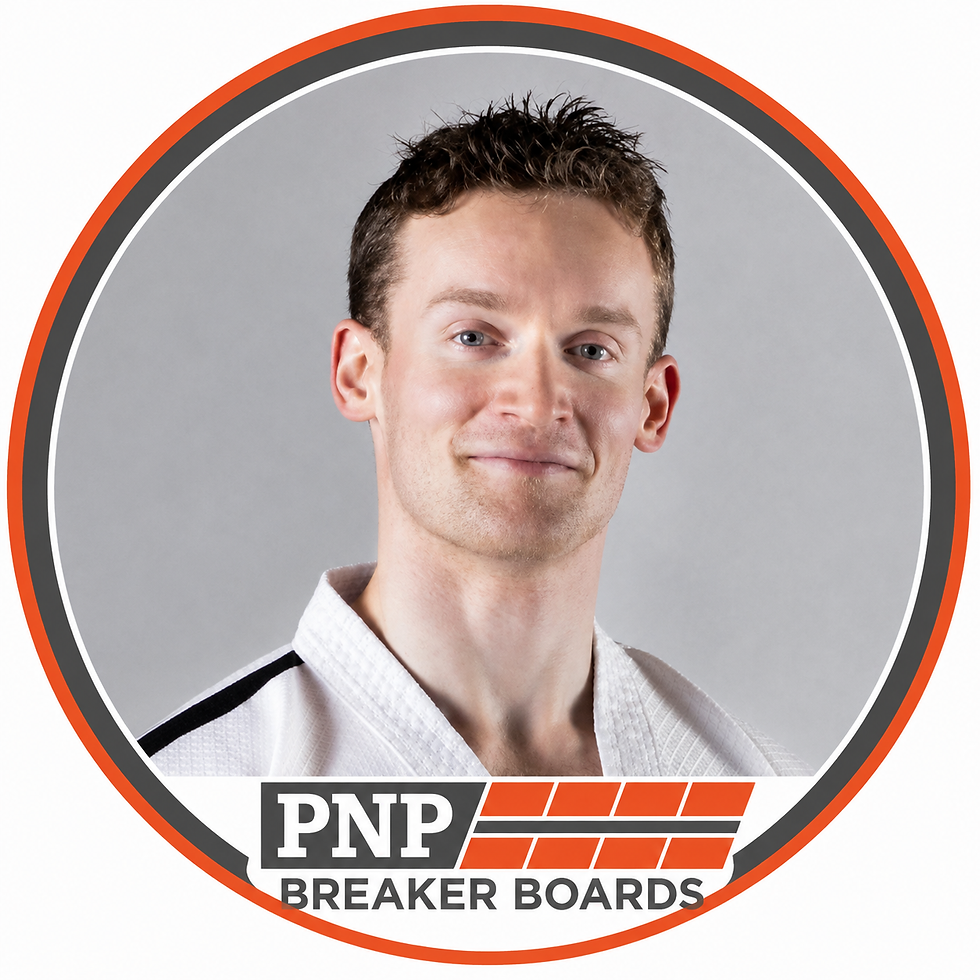
Meet Kevin Jansen – ITF World Cup Powerbreaking Champion
Hi everyone! My name is Kevin Jansen, a IV-degree black belt from the Netherlands, current I.T.F. (Spain / GM Weiler Group) World Cup Champion in Powerbreaking and proud PNP Breaker Boards sponsored athlete.
From 28 September to 4 October 2026, I will be in Benidorm, Spain, competing at the 10th I.T.F. World Cup to defend my title.
Over the coming weeks, I’ll be using the PNP Breaker Boards blog to share an insight into my preparation campaign. I’ll be covering everything from my training routine and equipment to competition analysis, powerbreaking technique and mental preparation.
You can also follow me on Instagram at @ironfistETN where I regularly share videos from my preparation.
I hope you enjoy following the journey!
Powerbreaking Training Phase 1: June–July

In this blog, I want to give you a closer look at my powerbreaking training regimen.
I’m going to take you through a typical powerbreaking session and explain some of the training habits and philosophies behind it. I’ll also show you how my breaking sessions evolve throughout a four-month World Cup preparation campaign.
The Use of Protective Gear in Powerbreaking Training
During this phase of technical refinement, mistakes can and will happen.
Techniques may be a little rusty, and it can take time to rediscover the perfect angles, distance, timing, acceleration points and accuracy.
To minimise the risk of injury, I use additional protective gear.
My three go-to pieces of protective equipment, in order of importance, are:
A red leather board pad
An MMA glove
An old sports shoe – a flat sole is essential

I use the leather pad for all my techniques except the yop chagi (sidekick). This is the only technique I train without protective gear because the attacking tool – the footsword – is naturally quite sturdy.
The main advantage of the pad is that it provides cushioning, reducing the impact on the bones and joints.
However, what many people overlook is that cushioning works both ways. It also reduces the impact of your strike or kick on the boards.
So, purely from a physics point of view, breaking a board with added cushioning requires a stronger technique than breaking one without it.
The reason many people believe a cushioned break is easier is because of the mental advantage it provides:
If I make a mistake, it won't hurt nearly as much.
My advice is to reverse that psychology.
Once you know you can break a certain number of boards with cushioning, you know your technique and strength are adequate to perform that same break without protective equipment.
Save those unprotected attempts for competitions or gradings, when the stakes and focus are high, and use your training sessions to build confidence, consistency and muscle memory.
I use an MMA glove for my hand techniques. The most important thing is that the glove still allows you to close your hand properly, mimicking the correct hand position for the technique you're performing.
Nowadays, I only use the sports shoe for the reverse turning kick. It provides an additional protective layer for the back heel.
If you're new – or relatively new – to powerbreaking, you could also use a shoe for the roundhouse kick. However, it may prevent you from pulling your toes into the correct position, so I recommend using a flexible shoe with thin material around the toe area.
Another option is to alternate your protective equipment.
You can stack protection – pad plus shoe or glove – when attempting records or completing a particularly high number of breaks in one session. Alternatively, you can use a single piece of protective equipment if you also want to work on conditioning your attacking tool.
And finally, don't be discouraged by the online senseis who ridicule people for using pads, shoes or gloves.
Virtually every great powerbreaking champion I know from the past 15+ years uses protective equipment during training.
The increased training volume this allows far outweighs the 'toughness' gained from breaking bare-handed and barefoot all the time.
Add some regular conditioning exercises alongside your breaking training and your hands and feet will get the development they need.
A Day of Powerbreaking Training
Now let me take you through a breaking session from the first preparation phase – June and July.
As I explained in my first World Cup powerbreaking training blog, I begin my preparation with two breaking sessions per week.
I use the first two months to concentrate on technical refinement and consistency at World Cup entry level – four white PNP boards for the foot technique and three white PNP boards for the hand technique.
This requires a lot of repetitions and training volume per session, which is another reason protective equipment plays such an important role.
For this particular session, I'm training my chosen World Cup techniques:
Foot technique: Sidekick / Yop Chagi
Hand technique: Forefist Punch / Ap Joomuk
Sidekick / Yop Chagi Powerbreaking Training
Let's start with the sidekick.

The I.T.F. Spain rules allow a competitive breaking technique to be performed by stepping, shifting, sliding and/or jumping while executing the technique.
The most common – and, in my opinion, optimal – way of performing the sidekick is by stepping into the technique.
I believe this makes it the most technically advanced of the competition techniques because it introduces elements of timing and tempo that the other techniques simply don't demand in the same way.
The advantage, however, is that the attacking tool – the side of the heel or footsword – is naturally very sturdy.
Combine that with the fact that we spend every day walking on our feet, developing thicker skin on the soles, and you have an attacking tool that rarely becomes injured.
These two factors make the sidekick particularly well suited to high-volume training.
Warming Up
I usually begin my sidekick training with some basic mobility exercises.
Nothing complicated – just my favourite dynamic exercises, concentrating mainly on the hip and knee joints.
Around five minutes is enough.
I then move to the standing boxing bag in my training area and begin working through the sidekick movement, gradually increasing the power and activating muscle memory.
I achieve my best results when I deliberately slow the tempo of the step and only begin accelerating the kicking leg as it leaves the ground.
Try to accelerate through the hip, rather than the knee.
To work on accuracy, you can wrap a rope around the bag at your preferred target height or simply place a sticker on it.
Remember that the ideal breaking technique travels perpendicular to the target – in this case, in a perfectly horizontal line.
Developing the correct technique is essential at every level of board breaking. If you're working on your own breaking skills, take a look at our step-by-step guide to how to break a board properly for more advice on technique, accuracy and power.
Moving from the Bag to PNP Breaking Boards
Once I feel sufficiently tuned into the sidekick, I move onto my PNP Breaker Boards. In my previous blog, I explained what I look for in a breaking board and why consistency becomes so important when you're training at this level.

When breaking, I base the progression in board numbers on my maximum for that particular technique.
For the sidekick, both my competition record and training record currently stand at six boards.
That's peak performance and certainly isn't something I'm capable of doing every day of the year.
However, it means that training with fewer than four boards doesn't provide enough of a challenge for me. I'm able to break three boards even with relatively poor technical execution.
Instead, I spend more time refining the movement on the boxing bag before moving directly to four-board breaks – the starting number for international competition.
To evaluate my consistency, I record every break using a progression table.
How I Use My Powerbreaking Progression Table
Sidekick Session no. | set 1 5 x 4 boards | set 2 5 x 4 boards | set 3 5 x 4 boards | set 4 5 x 4 boards | set 5 3 x 4.5 boards | Set 6 3 x 4.5 boards |
Example | V V V V V | V V X V V | V O V V X | V V X V V | O V V | V V V |
1 |
|
|
|
|
|
|
2 |
|
|
|
|
|
|
Etc. etc. |
|
|
|
|
|
|
Attempts within the same set are performed sequentially. I put the boards back together and go again, with approximately three to five minutes' rest between sets.
I record each result in my progression chart:
V = Full break
X = No break
O = Partial break
I consider myself consistent when I can successfully break 80% of my attempts at a particular number of boards.
If I achieve an 80% success rate at the same number of boards across two consecutive sessions, I increase the number of boards in the working sets during the following session.
For the sidekick, every set is a working set because I've already completed the full warm-up on the boxing bag.
I repeat this cycle for two months.
My Phase 1 goal is to approach a 100% success rate with four-board sidekicks and an 80% success rate with five-board sidekicks.
Writing this in mid-August, I can confirm that I finished Phase 1 with a near-100% success rate at four and 4.5 boards. I'm also approaching a two-thirds success rate at five boards, with a few successful higher-board attempts along the way.
Forefist Punch / Ap Joomuk Training

The basic principle remains the same for each technique during the first months of my World Cup campaign:
Refine the technical execution through high training volume.
For the forefist punch, I double up on protective equipment – using both the pad and MMA glove – so I can make mistakes, analyse them and correct them while reducing the risk of injury.
For my warm-up, I again concentrate on mobility, but this time primarily around the shoulders and core.
For a powerful punch, the twisting motion of the torso is essential.
In my opinion, the difficulty of the punch is quite different from the sidekick.
From a technical perspective, there are only a few fundamental things to concentrate on when performing a powerbreaking punch:
You need sufficient follow-through. Ideally, your arm should be around 80% extended at impact, with the remaining 20% of the movement continuing through the boards.
Acceleration comes from twisting the torso.
The punch should travel horizontally – not downwards or upwards.
The athletic demands of a good punch are also relatively low compared with the kicking techniques.
I believe the reason many people struggle with the punch is mental.
You're standing directly in front of the boards looking at them, and it's very easy to start thinking about the impact on your hand.
That's when people begin to tense their shoulders and try to punch using brute force.
In my experience, this produces poorer results than punching with acceleration.
My approach is to relax my mind and think of the punch purely as a movement.
There are no boards. There is simply a target.
From my measured position, I take a full step back into a guarding block and take one deep breath.
As I exhale, I consciously allow my shoulders to drop, removing tension from my neck and shoulders.
On my next inhale, I begin moving forward and complete the punching motion, accelerating through the torso.
The entire process, beginning from the measure, takes around six seconds.
Progressing the Forefist Punch
Punch Session no. | Warm-up set 1 3 x 1 boards | Warm-up set 2 3 x 1.5 boards | Warm-up set 3 3 x 2 boards | Work-set 1 3 x 2.5 boards | Work-set 2 3 x 3 boards | Work-set 3 3 x 3 boards |
Example | V V V | V V V | V V V | X V V | O V V | V V V |
1 |
|
|
|
|
|
|
2 |
|
|
|
|
|
|
Etc. etc. |
|
|
|
|
|
|
The progression for my punch breaks looks very different from the sidekick.
The World Cup entry level for the sidekick is comfortably below my maximum ability. However, the World Cup entry level for the hand technique – three boards – is roughly equal to my current personal record.
As I mentioned in the first post in this series, that's the case for many international competitors.
Very few breakers are able to strike through a fourth board with a hand technique. That's why being able to do so can make such a significant difference for a medal contender.
My World Cup preparation campaign is therefore built around trying to break through that four-board plateau.
But first things first.
I need complete consistency at three boards before I can even consider moving higher.
For the first two months, I therefore structure my progression so that I complete three attempts per set.
This gives my hand more recovery time and reduces the mental workload of each set.
My warm-up sets also remain at the same board numbers to allow for a controlled physical and mental build-up.
By the end of Phase 1, I'm approaching a 100% success rate at three boards and have even exceeded that target slightly by scoring partial breaks at 3.5 boards.
Phase 1 Complete – Now the Real Challenge Begins
Overall, I'd say I'm ahead of schedule at the end of July.
The first phase has been about technical refinement, repetition, consistency and building the foundations I'll need later in the campaign.
As August begins, we move into Phase 2.
And this is where the records need to start falling.
I'll save that for the next episode!
Powerbreaking Training FAQs
How often does Kevin Jansen practise powerbreaking?
During Phase 1 of his World Cup preparation, Kevin includes two dedicated breaking sessions per week. This gives him sufficient recovery time between sessions while allowing him to concentrate on technique, repetition and consistency.
Why does Kevin use protective equipment when powerbreaking?
Kevin uses protective equipment to reduce stress on his hands, feet, bones and joints while completing a high volume of repetitions. He believes this allows him to concentrate on improving technique and muscle memory without unnecessary injury risk.
What protective equipment does Kevin use for powerbreaking training?
Depending on the technique, Kevin uses a leather board pad, MMA glove or sports shoe. He may also combine protective equipment during particularly high-volume sessions or more demanding attempts.
How does Kevin know when to increase the number of breaking boards?
Kevin uses a progression system based on consistency. He aims for an 80% success rate at a particular number of boards. If he achieves that across two consecutive sessions, he can increase the number of boards used in his working sets. That's taken directly from the progression method Kevin describes in the article.
How many boards can Kevin Jansen break with a sidekick?
Kevin states that his current competition and training record for the sidekick is six boards. During Phase 1, however, his focus is not simply on his maximum; it's on developing consistent successful breaks at four and five boards.
What is the biggest challenge with the forefist punch in powerbreaking?
For Kevin, one of the biggest challenges is mental rather than purely physical. Looking directly at the boards can cause a competitor to tense their shoulders and rely on brute force. Kevin instead concentrates on relaxation, acceleration and treating the punch as a movement towards a target.
Train with the Boards a World Champion Trusts
Kevin's World Cup preparation is built around repetition, consistency and progressive training, and having equipment he can rely on session after session is a key part of that preparation.
As a sponsored PNP Breaker Boards athlete, Kevin trains with our reusable breaking boards as he works towards defending his World Cup title in Benidorm.
Whether you're developing your first breaking techniques or training for elite-level competition, PNP Breaker Boards allow you to progress through different resistance levels, practise repeatedly and build confidence in your technique.
Ready to take your breaking training to the next level?


Comments